4 Cap & Electrode Preparation
4.1 Head Measurement
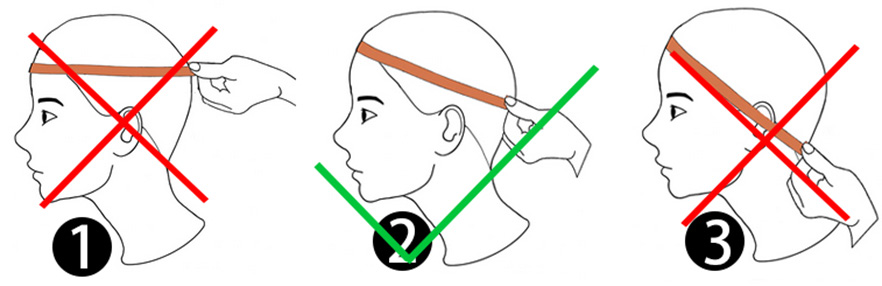
Step 1: Measure around the head like a baseball cap (~1.5 - 2 cm / ~½–1 inch above eyebrows).
Step 2: If between sizes (e.g., 57), start smaller (e.g., 56) and go up if the cap is too tight.
54, 56, 58, 60
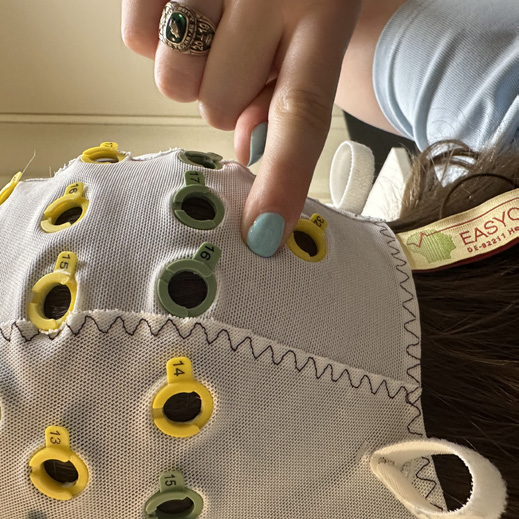
4.2 Putting on the Cap
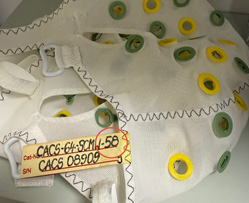
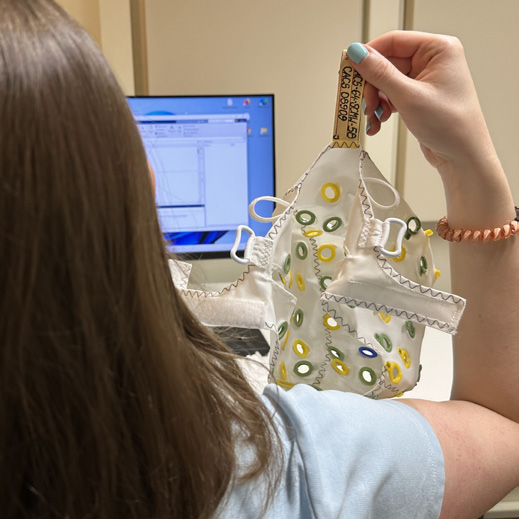
Step 1: Ask participant to hold the back tag to help you get the cap on their head. Step 2: Pull cap on from back to front. Step 3: Ask them to keep their head up straight and steady. Step 4: Place your hand on the top of their head. Step 5: Slide the cap until it gets roughly to the right position. Step 6: Ask them to identify their occipital bone bump (back of head).
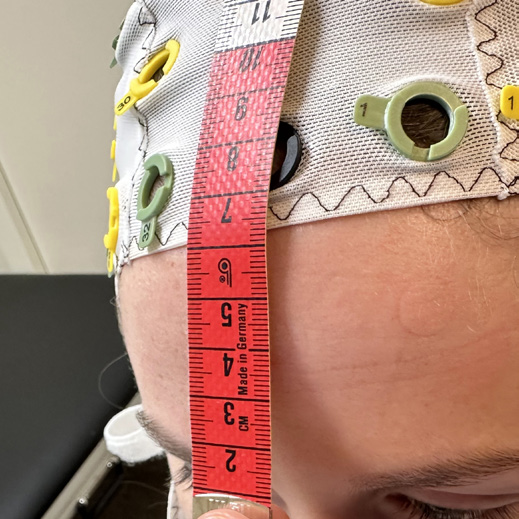
4.3 Check Reference Location
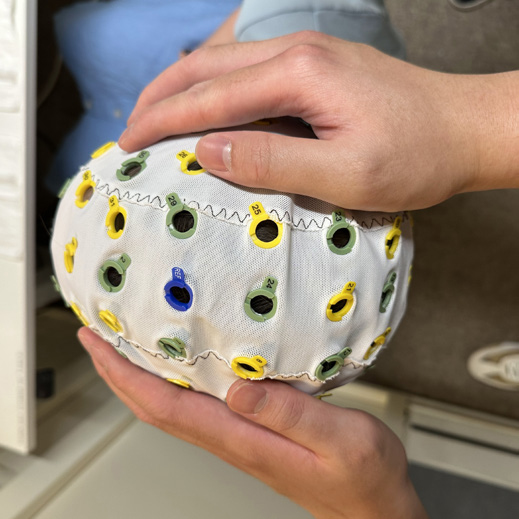
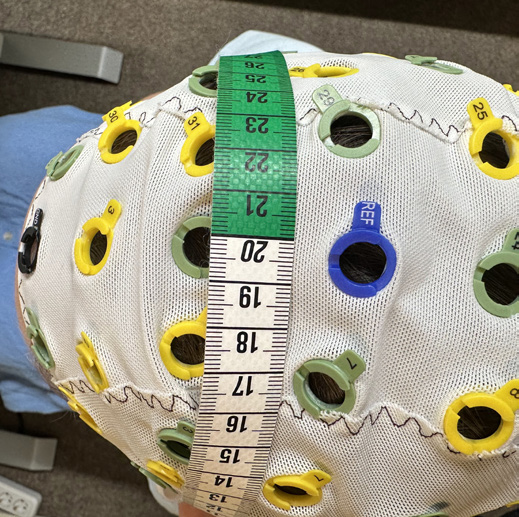
Step 1: Measure from the spot between eyebrows to the occipital bump.
Step 2: Measure from ear to ear. The reference electrode should be approximately midpoint between eyebrows and occipital bone as well as midpoint between the ears (ok if slightly off).
Note: This should result in the ground electrode being slightly above the eyebrows, but below the mid-forehead.
Step 3: Adjust cap again as described above if needed.
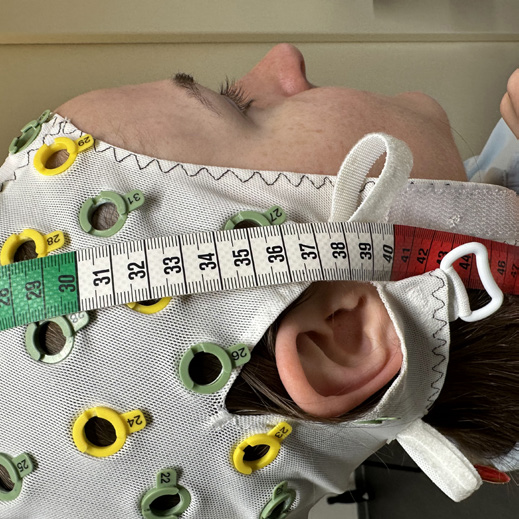
4.4 Chin Strap
Step 1: Ask participant to fasten chin strap themselves.
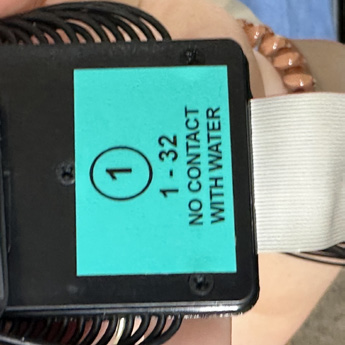
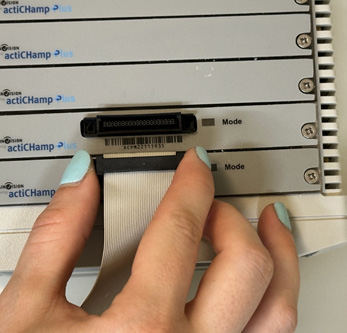
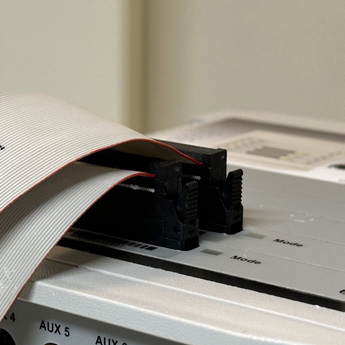
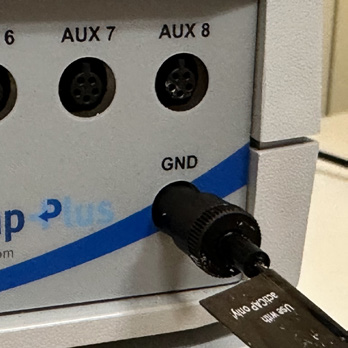
4.5 Plugging in the Electrodes
Step 1: Match Electrode Band 1–32 and 33–64 to the amplifier. Step 2: Use arrow on plug (top right) to align with amplifier port. Step 3: Insert straight in — do not bend, force, or wiggle. Step 4: Plug GND (ground electrode) separately into port labeled “GND” (round plug).